Showing posts with label leopard. Show all posts

Monday, September 9, 2013

Mani-Monday: Ombre Leopard

Sorry I have been MIA, I have a lot of things going on. However, this week’s nail look might be my favorite and I love the color combination. It is simple yet still something different. I think I will always love nude and neon together. The coral nail polish is such a gorgeous color. The picture does not do justice to how beautiful the color is. To get this look:
 

Monday, July 29, 2013

Mani-Monday: Wild Neon


It’s Monday again, which means it’s time for another nail look! This time our wild side is coming out with these nails…RAWR! Who doesn’t love zebra and leopard print nails, BUT what’s better than a nail look with BOTH zebra and leopard…NOTHING! With this fun and wild print and the bright neon nail polish, your nails are sure to be a stand out. To get this look:
 
You will need:
Base coat
Pink neon nail polish
Clear sparkle nail polish
Black acrylic or nail polish
Top coat
Striping brush or toothpick
Dotting tool
 
Step 1: First, apply your base coat. Then apply two coats of your pink neon polish. I used ‘24/7’ by Sinful Colors. Then apply your clear sparkle nail polish, I used ‘XL7’ by Inglot, which has a blue sparkle to give the nails an interesting look in the light. Wait for your nails to dry a few minutes.
 
Step 2: Next, using a striping brush or toothpick, dip it in the black acrylic or nail polish and create the zebra pattern. Create the zebra pattern in a diagonal on the top and half part of the nail (as seen in the picture above). Then, using your dotting tool or toothpick, dip it in the black acrylic or nail polish and create the leopard print in the empty space between the zebra print. Wait a few minutes for your nails to dry, so that the black will not spread when applying the top coat.
 
Step 3: Lastly, apply a generous amount of top coat and you’re done! Have fun with these wild nails and go show them off.

Monday, June 24, 2013

Mani-Monday: Rainbow Leopard

A few days ago I decided to treat myself to a little shopping spree. And that spree came out to buying 11 new nail polishes (I posted a picture on my Instagram. Follow thatbeautysecret)! I am one HAPPY girl right now…
 
 
When I buy something new, I am the kind of person that likes to wear it or try it right away. So after getting all those colorful new colors 
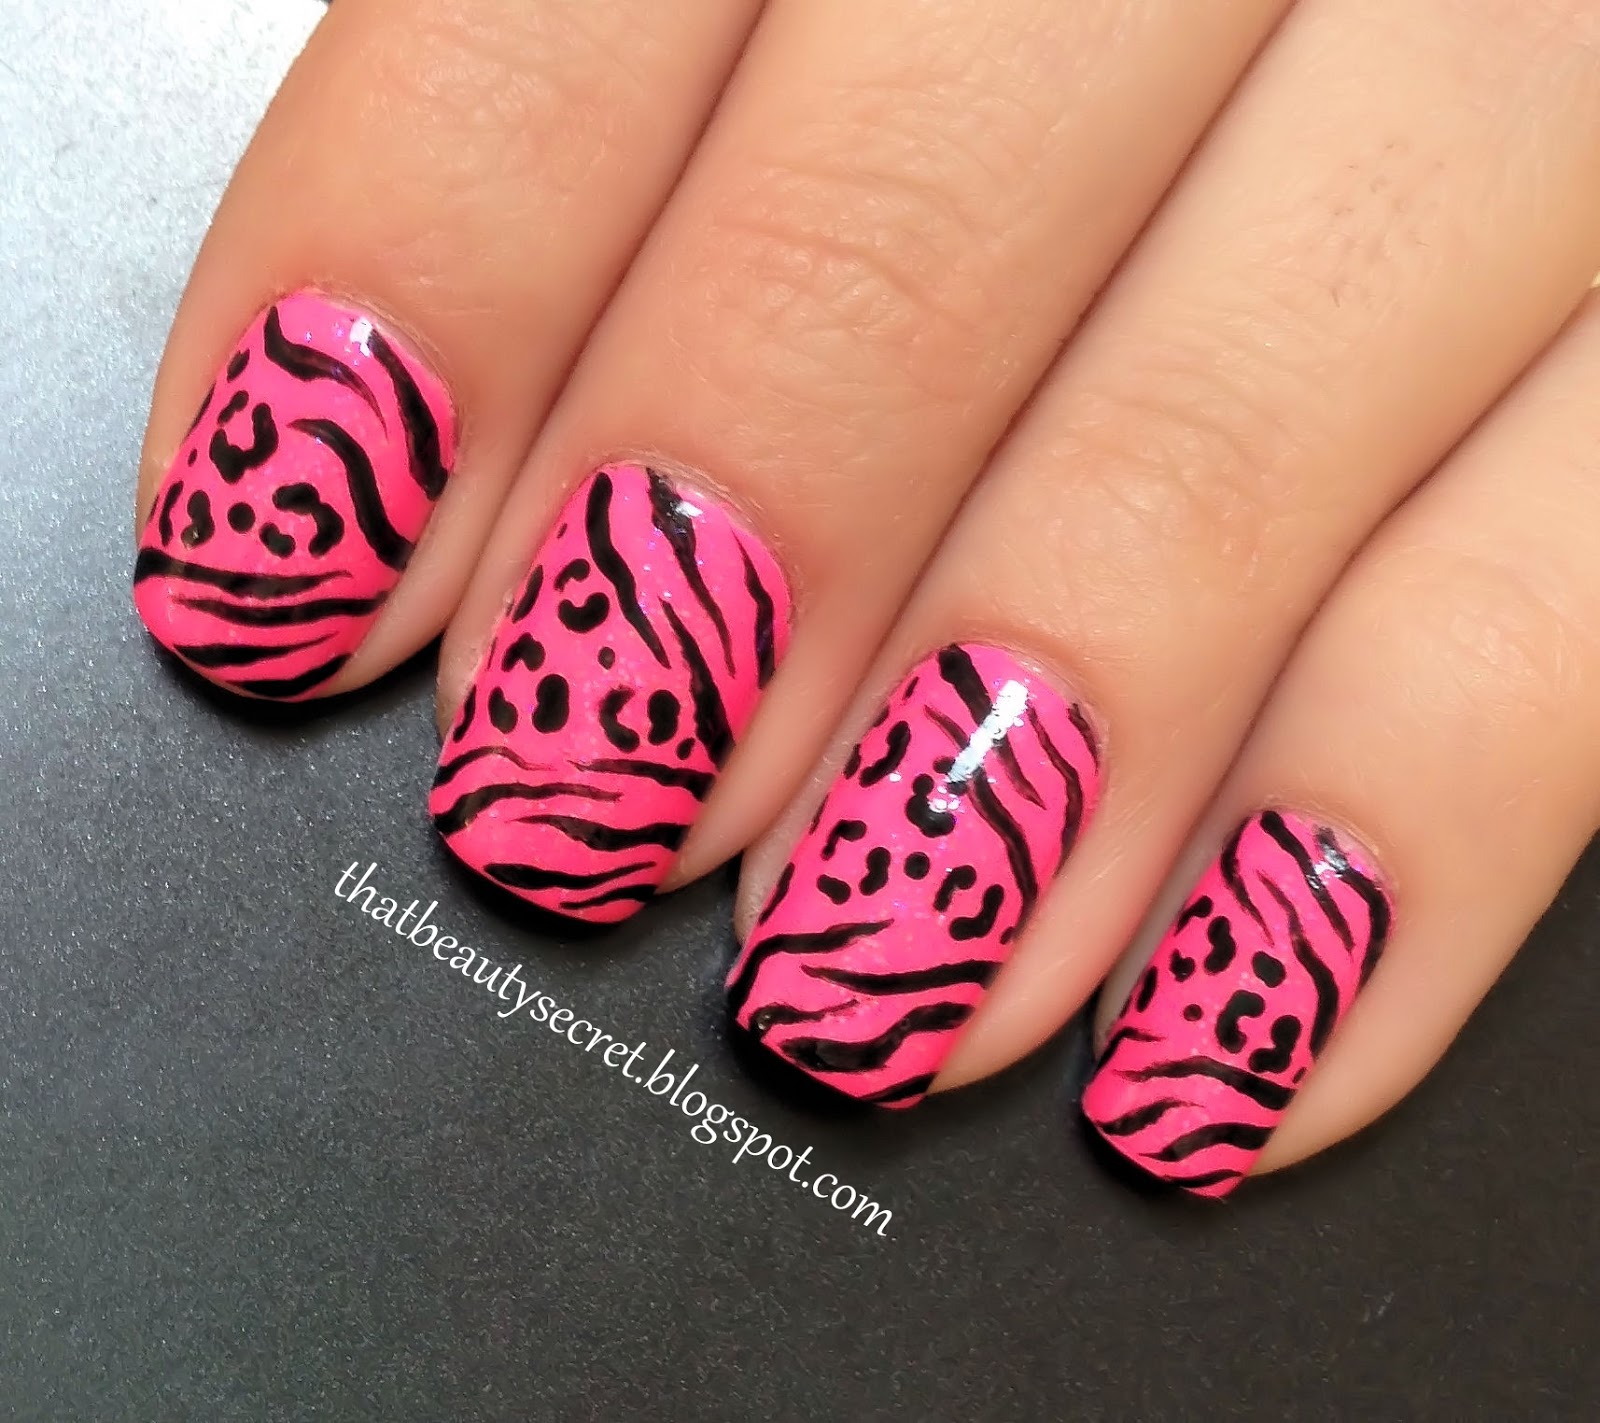
I just had to create something that used most of the colors. And this colorful rainbow leopard print nail design was created. It is so fun and summery. I used a lot of different colors, however, you do not have to use as many. You can use 1, 2, 3, or however many as you would like. To get this look:
 
You will need:
Base coat
White nail polish
Light green nail polish
Dark green nail polish
Purple nail polish
Blue nail polish
Pink nail polish
Orange nail polish
Yellow nail polish
Toothpick or dotting tool
Top coat
 
Step 1: First, apply your base coat. Then apply two coats of your white polish. I used ‘White Hot’ by Sephora by OPI. Wait a few minutes for your nails to dry.
 
Step 2: Next, using a toothpick or dotting tool, dip it in each color and create the leopard pattern. I used ‘Yellow Umbrella’ by Sephora, ‘Myrtille’ by Sephora, ‘Picnic in the Park’ by Sephora, ‘Domestic Goddess’ by Sephora by OPI, ‘Caliente Coral’ by Sephora by OPI, ‘It’s Totally Karma’ by Sephora by OPI, and ‘I’m Wired’ by Sephora by OPI. 
 
Step 3: Then, Lastly, apply a top coat and voila! Your fun and colorful leopard nails are done.

Monday, May 6, 2013

Mani-Monday: Red Leopard


This week I tried to create a different take on leopard. I started off with just a plain nude base and then created a line down the center of my nail and filled it with leopard prints. I’m really happy with how my nails turned out. It’s something different and obviously I’m all about different on my nails (I cannot wear just plain nail polish anymore…that’s a no go). This nail look also took pretty quick to do.
 
You will need:
Base coat
Nude nail polish
Red nail polish
Black acrylic or nail polish
Top coat
 
Step 1: First, apply your base coat. Then apply two coats of your nude polish. I used ‘Sandstorm’ by Maybelline.
 
Step 2: Next, using your red nail polish, I used ‘Lollipop’ by Essie, paint a line down the center on your nail. You can apply tape on the sides of your lines to create a straighter line, but I just painted the line slowly down the middle. Let it dry for a few minutes.
 
Step 3: Then, using your nude nail polish again, dot a few random dots on the red line on each nail. You can use the tip of the nail polish brush or a dotting tool.
 
Step 4: Then, using a toothpick, dip it in the black acrylic or nail polish and outline the nude dots to create a leopard look. Lastly, apply a top coat and you’re done! You can change it up and create this nail look with different colors.